


Indulge yourself with a cool glass of cold brew coffee on a scorching summer day. Known for its smooth and rich flavor, cold brew is a preferred choice for those who prefer their coffee cold without the bitterness of regular iced coffee. Although it may seem like a gourmet option only found in cafes, making cold brew at home is surprisingly simple with basic ingredients and a little time. Follow our easy tutorial to create your own delectable cold brew coffee right in your own kitchen.
Step 1: Get Your Materials
To begin making cold brew, you will first need to gather some essential supplies. Here is a list of what you will need:
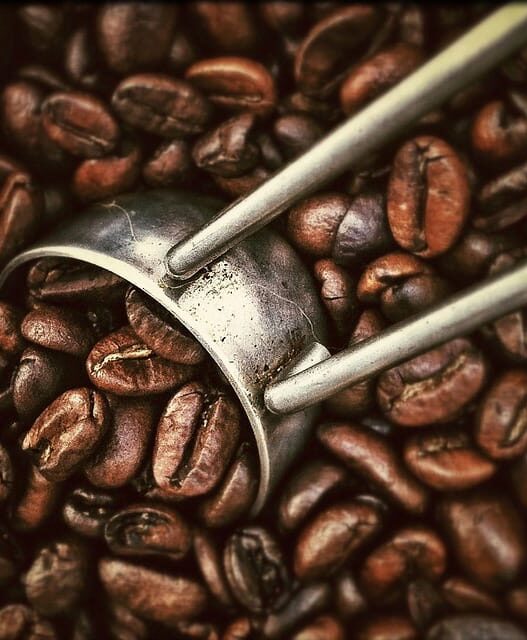
The ideal coffee beans for cold brew are those that are coarsely ground, allowing more contact with the water and resulting in a richer, more flavorful cold brew.

When making cold brew coffee, it is important to use cold water to avoid extracting bitter flavors from the coffee grounds.
– Ensure you have a large jar or pitcher that can accommodate both the coffee grounds and water.
You will need a fine mesh strainer or cheesecloth to filter out the coffee grounds from the cold brew after it has finished brewing.
Step 2: Mix Coffee and Water Together
To begin, measure out your coffee grounds. For a robust cold brew, use a 1:4 ratio of coffee to water. For instance, if you’re using 1 cup of coffee grounds, you’ll require 4 cups of water. If you prefer a milder brew, feel free to modify the ratio to suit your taste.
Afterward, pour the coffee grounds into your jar or pitcher. Then, gradually pour the cold water over the grounds, ensuring that all the coffee is thoroughly saturated. Use a spoon to gently stir the mixture, making sure all the grounds are evenly soaked.
Step 3: Allow the coffee to steep
After mixing the coffee and water, cover the container with a lid or plastic wrap and refrigerate for at least 12 hours, or up to 24 hours for a stronger flavor. Allowing the coffee to steep longer will result in a more robust and flavorful cold brew.
Step 4: Filter the Coffee
Once the coffee has steeped for the desired duration, it is time to filter out the grounds. Simply place a fine mesh strainer or cheesecloth over a clean jar or pitcher, and slowly pour the cold brew through the filter. Use a spoon to press down on the grounds to extract every last drop of liquid.
Step 5: Enjoy your meal
After straining the cold brew, it is ready to be enjoyed. Serve it over ice, or mix it with milk or creamer for a creamy beverage. You can also store cold brew coffee in the refrigerator for up to two weeks, allowing you to make a large batch and enjoy it over the course of the week.
Step 6: Personalizing Your Cold Brew
Making cold brew at home offers the flexibility to tailor it to your liking. Here are some tips for personalizing your cold brew:
Enhance the taste: For those who enjoy flavored coffee, try adding a hint of vanilla extract, cinnamon, or caramel syrup to your cold brew.
– Combine with milk or creamer: Cold brew is tasty by itself, but it can also be enhanced with a touch of milk or creamer. Try out various options like almond or oat milk to discover your ideal blend.
– Adjust sweetness level: Cold brew is naturally mild and slightly sweet, but if you like a sweeter taste, mix in some sugar, honey, or agave syrup to suit your preference.
– Explore various coffee beans: Test out different types of coffee beans to discover your preferred flavor profile. Lighter roasts often offer subtle, fruity notes, while darker roasts tend to be richer and more robust.
Overall, creating your own cold brew at home is a straightforward and fulfilling experience that lets you savor a tasty coffee beverage without needing to go out. By using the instructions outlined in this guide and adjusting your cold brew to suit your preferences, you can have a cool glass of homemade cold brew whenever you want. Simply gather your coffee beans, water, and a spacious jar, and begin brewing your own cold brew right away!